
DIY Smart Garage Door Opener using Sonoff SV and Tasmota
A secure, local-first garage door controller integrated into Home Assistant with physical status monitoring.
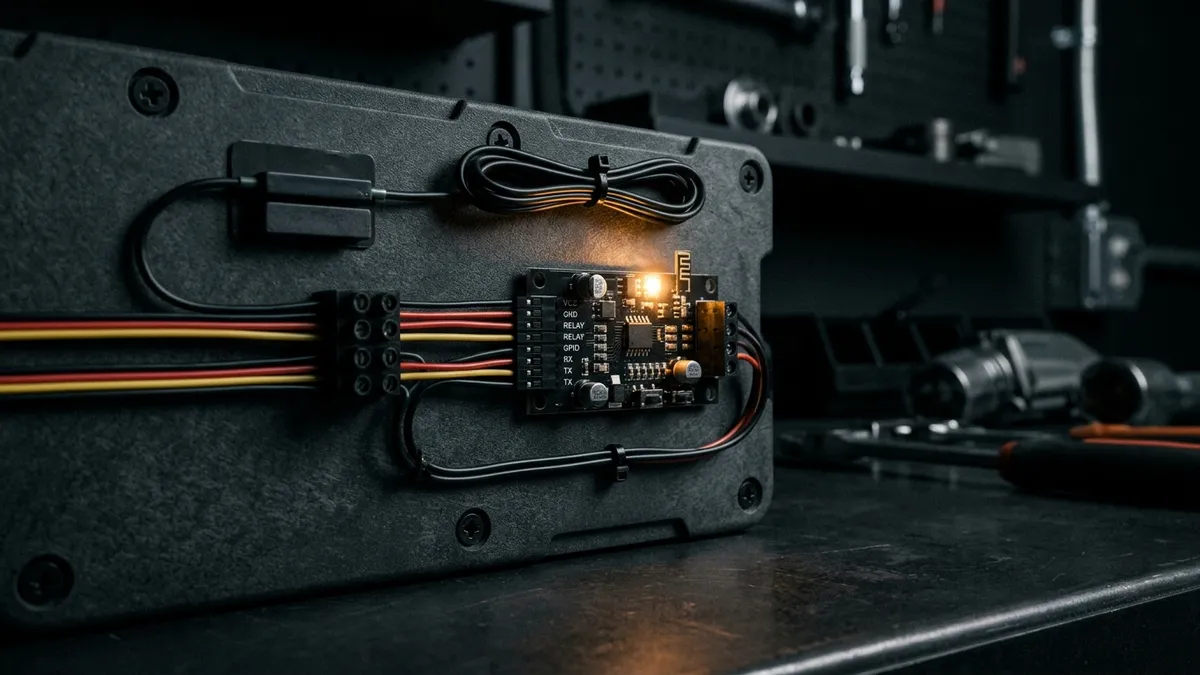
Garages are one of the most common entry points for home break-ins, and forgetting if you left the door open is a constant headache.
In this article, I walk through how I built a 100% local, secure, and reliable smart garage door controller for under $20 using a Sonoff SV flashed with Tasmota, wired magnetic reed switches, and integrated directly into my Home Assistant dashboard.
Parts List & Tools
To build this, you need a few basic components:
| Part | Description | Purchase Link |
|---|---|---|
| Sonoff SV | Safe Voltage development board | Amazon |
| Magnetic Reed Switches | Wired sensor to detect door closure | Amazon |
| Dupont Jumper Wires | Prototyping wires for breadboard testing | Amazon |
| 5V Power Supply | Micro-USB power adapter | Amazon |
Hardware Wiring & Safety Modification
The Sonoff SV is a “Safe Voltage” board, meaning it can run on 5V–24V power. By default, the relay switch outputs the input voltage (which would fry your garage door motor console).
To simulate a clean, dry-contact button press, we must convert it into a Dry Contact Relay:
- Remove the Resistors: De-solder and remove the two zero-ohm resistors labeled
0on the board (located near the input side). This isolates the relay output contacts from the power supply lines. - Wire to Garage Motor: Connect the isolated relay output contacts directly to the wall button inputs on your garage door motor.
- Reed Switches: Mount the magnetic reed switches at the bottom of the garage track.
- Close State: Mount the magnet on the door and the sensor on the frame so they touch only when the door is 100% closed.
- Why: If the door is open even 1 inch, the connection breaks, and Home Assistant flags the door as “Open” (failsafe design).
 Tasmota Configuration
Flash your Sonoff SV with Tasmota and configure the module parameters:
- Configure the relay to behave as a momentary switch (pulse button press):
PulseTime1 10 # Sets relay to turn ON for exactly 1 second, then shut off - Set your GPIO input pins for the Reed Switch to report status via MQTT.
 Home Assistant Dashboard Integration
Once MQTT is configured in Tasmota, define a cover template in your Home Assistant configuration.yaml file:
cover:
  - platform: template
    covers:
      garage_door:
        device_class: garage
        friendly_name: "Main Garage Door"
        value_template: >-
          {{ is_state('binary_sensor.garage_reed_switch', 'off') }}
        open_cover:
          service: switch.turn_on
          target:
            entity_id: switch.garage_relay_trigger
        close_cover:
          service: switch.turn_on
          target:
            entity_id: switch.garage_relay_trigger
        stop_cover:
          service: switch.turn_on
          target:
            entity_id: switch.garage_relay_trigger
        icon_template: >-
          {% if is_state('cover.garage_door', 'open') %}
            mdi:garage-open
          {% else %}
            mdi:garage
          {% endif %}
Now you have full control and state reporting in your Home Assistant dashboard!